
How to start a WordPress website for your business
How to start a WordPress website for your business
WordPress has become one of the most popular website building platforms in the world, and it’s easy to see why: It’s quick to set up, completely customizable, and easy to maintain. In this article, we’ll look at how to start a WordPress website from scratch using best practices and strategies that can apply to any industry or topic you’re looking to build your business around. No matter what you do, you need an online presence these days if you want to succeed, and WordPress provides the power and flexibility you need to get your brand in front of customers online.
What you need to get started
If you’re starting a website for your business, WordPress is a great platform to use. It’s user-friendly and perfect for beginners. Plus, there are tons of resources available online to help you get started. Here’s what you need to do:
- Choose a domain name and hosting plan.
- Install WordPress on your server.
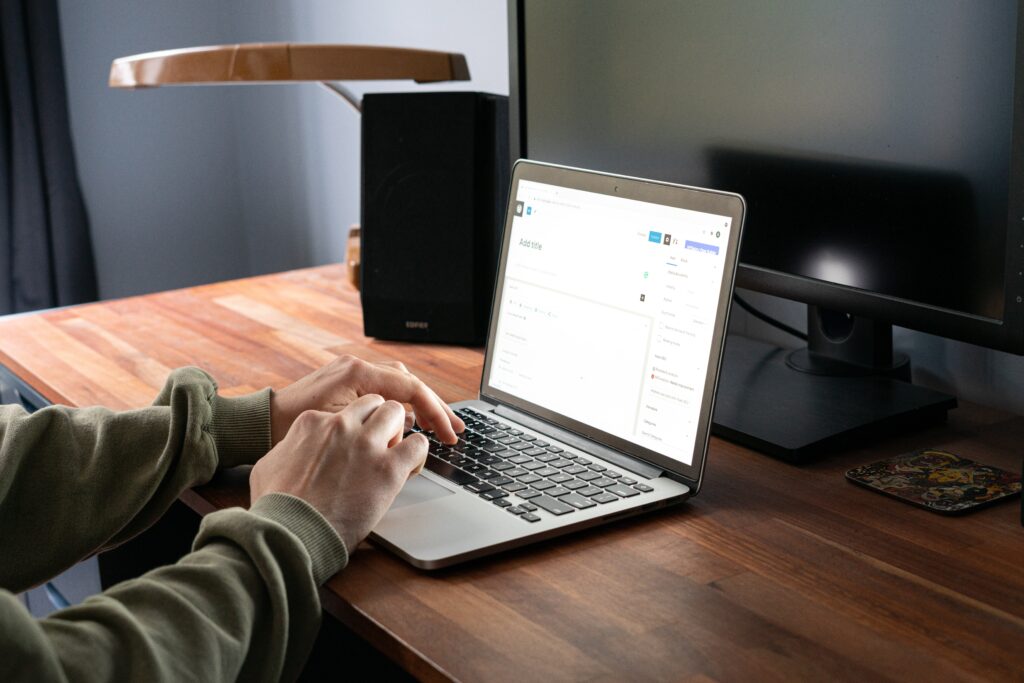
- Choose a theme and design your website.
- Add plugins and extend the functionality of your website.
Choosing your domain name
One of the first steps to starting your WordPress website is choosing a domain name. Your domain name is what people will type in to find your site, so it’s important to choose something that is easy to remember and represents your business well. If you already have a registered domain name from another company, then you can use this as your domain name on WordPress as well.
If you’re just starting out and don’t have a domain name yet, there are many options available. You can purchase one through popular web hosting providers like GoDaddy or Bluehost or even through WordPress itself. Or you could buy one through an independent provider like Namecheap or Gandi. A free generator name generator tool like Business Name Generator might be a good place to start. Just enter your desired word(s), click Generate, and voila: instant domain name!
Finding, installing, and configuring your CMS
For those of you who are ready to take the plunge and build your own website, congratulations! You’re about to embark on an exciting journey. Before you get started, you’ll need to choose a content management system (CMS). WordPress is a popular option for beginners because it’s free and easy to use.
Once you’ve selected WordPress, you’ll need to install it. The easiest way to do this is by using a web hosting service that offers one-click installation, such as Bluehost.
Once WordPress is installed, you’ll need to choose a theme. A theme is basically the design of your website. You can either purchase a theme from a marketplace like ThemeForest, or find a free theme in the WordPress repository.
Setting up your hosting account
Setting up a hosting account doesn’t have to be scary!
Once you’ve chosen a domain name, you’ll need to set up hosting. The hosting account is the space that stores and presents all of your content for others to see, it is where your website’s files will live. You can think of it as renting space for your website on the internet, the better quality hosting account you have, the better it will be for SEO and other reasons.
There are many different hosting providers, but we recommend SiteGround. Hosting companies like SiteGround provide many tools for optimizing SEO, setting up CDN networks, loading scripts and themes, performing security updates, boosting performance, and as well great customer support plus it’s affordable.
Adding content
One way to generate content is by using an auto-blogging generator like BlogJet, which creates fully-formatted blog posts with images automatically.
A good place to find these generators are at SitePoint or Content Marketing Institute. There are also more general websites such as MakeUseOf where you can find blogs about topics that may help you for inspiration, or research like their list of “the 10 best tools for writers to create engaging content”. Once you’ve found one generator that works for you, all you have to do is copy and paste the text into their form field and click Generate. Your post will then appear on the page where they tell you how many words were generated. You may need to remove some words or sentences if it’s too long but otherwise, it should be ready for publishing on your site!
Optimizing your site
If you want your site to be accessible to people all over the world, then use a Content Delivery Network (CDN) service like Cloudflare or KeyCDN. Cloudflare will optimize the size of images on your website so they load faster, even if someone from across the globe requests them. That way customers won’t have to wait too long before seeing what’s in store for them on your site. Don’t forget to keep optimizing your site by updating the images regularly, adding new blog posts, tweaking the fonts and colors of different pages, and editing out unnecessary plugins or widgets that are taking up space and slowing down your website. Remember: Search engine optimization (SEO) is an ongoing process – it doesn’t happen overnight.
Maintaining your site
- Pick a domain name for your website and register it.
- Choose a web hosting service and sign up for an account.
- Install WordPress on your hosting account.
- Find and install a WordPress theme that fits the type of site you want to create.
- Install plugins to add features and functionality to your site.
- Create pages, posts, and other content for your site.
- Promote your site through social media and other channels.